A few years ago if you told me that I'd run two half marathons in four months I would have told you that you were crazy. Running a full 10k was difficult a few years ago and I only dreamed of 13.1 miles. Well, I did it. Twice.
The first race was the Thanksgiving Day Atlanta Half Marathon in 2013. It was 25 degrees at the start of the race and still below 30 when we finished. It was cold, hilly and pretty miserable. Let's not go back to that morning.
Instead, let's focus on my first Disney race - The Disney Princess Half Marathon on February 23, 2014. I grew up in Orlando, I love all things Disney and I love fun swag, so signing up for this race was a no-brainer. When my friend, Sam, suggested that we run the half, we signed up right away. Pro tip #1: sign up right after registration opens, it sells out FAST.
The race starts at 5:30am so that the park can open after runners have finished so we decided we were going to get a hotel on Disney property. We chose
Port Orleans Riverside because it is the closest hotel to the start and finish lines at EPCOT. It wasn't until 3:45am, when we went to the bus stop to get on the shuttle that Disney provided for the runners, how lucky we were that we chose that hotel. We were told that the last bus was going to leave the hotel at 4:00am so we went out a few minutes early so we didn't miss it. Our ride rolled up just before the deadline and our stop filled a bus. We were lucky to be the first stop because the next 3 stops that we passed had 50+ runners at each stop waiting for a bus. From the look on our bus driver's face, there weren't any other busses behind him for a while. Those poor runners, I'm sure they were worried if they'd make it to the start on time. Pro Tip #2: My advice for any runners next year is to stay at Port Orleans Riverside - no bus issues! Our stop was also the first stop coming back from the finish, another bonus! Even from the closest hotel to EPCOT it took us about 30 minutes before we were in the parking lot and got off the bus. The traffic was intense. This is at 4:00am. Nobody wants to be sitting in traffic in a car at 4:00am. Stay on Disney property and take the shuttle.
The race was well organized, which is what I expect from anything Disney. As soon as we got off the bus Disney cast members ushered us towards the start/finish area. Here is where you could find the bag check, bathrooms, ice tents, food tents (open after the race), etc. We stood around here for a few minutes then it was a 5-10 min walk from the staging area to the starting corrals. All along the way we met cheery, happy Disney cast members making 5:00am not so bad.
 |
| Sam and me on our walk to the starting corrals |
You can't really tell in the pictures above, but that morning the humidity must have been at 100%. Anything over what felt like 100 yards away was hidden by fog. It was in the low 60s but felt MUCH warmer. I was warm before we even started running. I have no idea how Sam ran in crops, a t-shirt and long sleeve shirt. If I could have worn a tank top I would have, I forgot to bring one as a backup.
In other large races once you're in your corral you stand around and wait and slowly march closer to the start line. Disney had TV hosts all around the start area and jumbo screens set up so everyone could see their interviews and what was going on at the start line since some people were pretty far away at the other end of the parking lot. After the National Anthem, some speeches by Miss America, Children's Miracle Network and Disney, Cinderella's Fairy Godmother came out to get the send us off on our run. With the start of each wave, which seemed to be about 3 minute apart there were fireworks. (If you do stay at the Port Orleans Riverside and family members stay back at the hotel to sleep while you run, they will be woken up by the fireworks.)
 |
| Fireworks for the corral before I started the race. You can see how foggy it was, that's not smoke from the fireworks. |
Once we were on our way the humidity really kicked my butt. For the past 5 months I'd been running in cold, winter temperatures with very little humidity. I wasn't ready for how heavy the air was, but at least I wasn't shivering and I could feel my toes.
All along the race course there were Disney characters posing for pictures and there was even a high school marching band around mile 1. Having the distractions along the way definitely made the time fly by which was nice because the first 5.5 miles or so you're on a state road between EPCOT and the Magic Kingdom. It could have been the addition of the fog, but if there wasn't entertainment for us, it would have been a very boring course. As we got closer and closer to the next park you could feel the excitement. I didn't stop to take pictures with any of the characters along the way, I was there to run. However, there were definitely people stopping and standing in line. Some of the lines were 20+ runners deep. A half marathon is long enough, I'm not stopping for pictures. The course circles through the Magic Kingdom and back to EPCOT, the same way we came. The characters were a nice distraction again. My favorite was the Green Army Man from Toy Story. He was on a hill at mile 10 and was hilarious motivation for the only "hill" on the course. (Coming from Atlanta, the city of hills, the course was nice and flat for me!)
While we're on the topic of stopping, luckily I didn't need to, but some runners need to stop along the course for a bathroom pit stop. Disney had a group of Port-o-Pots and a Medical Tent at every mile. If it wasn't every mile, it was every 1.5 miles. It was great - thanks Disney! It's always a great fear of mine that I'll suddenly get the urge and be miles from the next stop. The medical tents were fully stocked and staff was handing out body glide to runners who were having chafing problems. Thankfully, again, no need to stop.
I didn't finish the race any faster than I finished the Thanksgiving Day race a few months earlier, I was actually :20 slower, but with the humidity as high as it was, I am proud of my time!
Total Female Finishers: 19,321
Overall Place: 1,944
Division Place: 306
Gender Place: 1,680 (8% what!?!)
5k split: 30:55
10k split: 1:02
15k split: 1:35
Finish Time: 2:14:56
I'm not a fast runner, yet, but because so many people stopped to take pictures, etc, I actually finished in the top 8% of female racers. That's nuts! I've signed up for the Thanksgiving half marathon again for 2014 and I hope to be sub 2:00 at that point.
 |
| Me and Sam post-race! Check out the medals! |
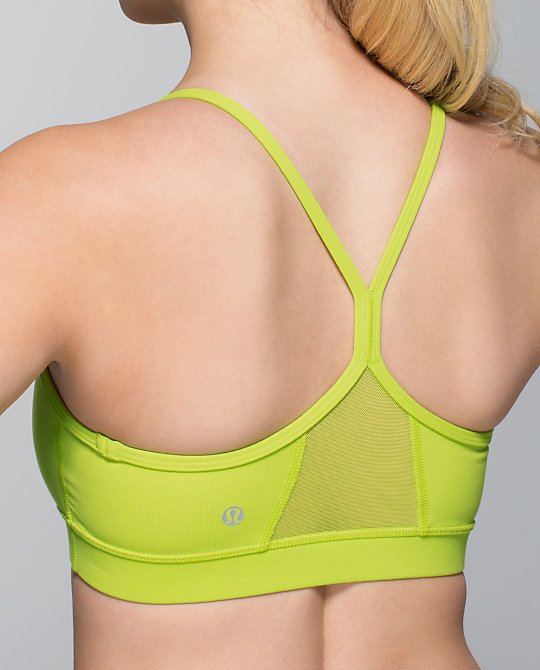
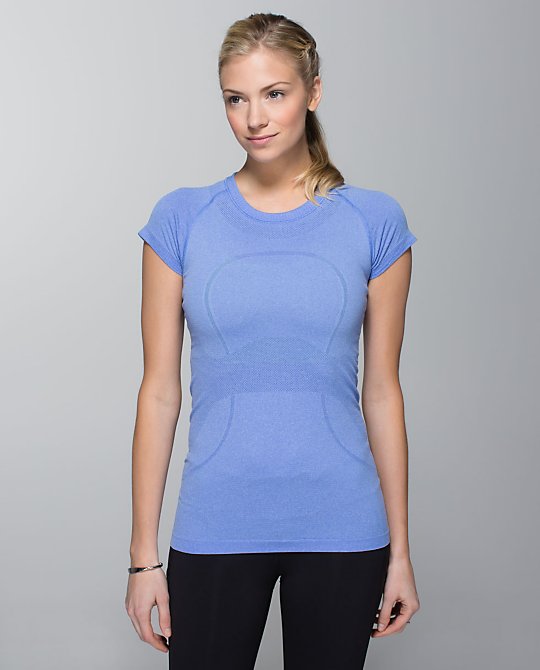
In our packets at pick up we were given our performance t-shirt that I've worn a few times back in Atlanta and at the end of the race we were given small, mesh backpacks along with our medals, food, and water. Bring on the swag!
The entire event from the packet pick up on Saturday to the end of the race and the shuttle ride back to the hotel was fantastic. It was well organized and as always, Disney seemed to have thought of everything. The only thing I didn't like was that the massage tent was $1 a minute for a massage. I hadn't seen that listed anywhere before the race and of course I didn't have cash on me. I had my MagicBand (room key and credit card info) from Disney and my cell phone. I had about an hour to wait for Sam to finish because she was in a later corral and I would have gladly paid $15 for a 15 minute massage. I probably would have paid $30. Pro Tip #3 - bring cash.
I didn't buy any of the photos from the 100 photographers along the course even though some of them were pretty good. The photos with the EPCOT ball were so foggy you could barely make it out in the background and I'll wait until the next time I run it and hope for clearer weather. That's right, the next time I run - I'll absolutely run this race again.